

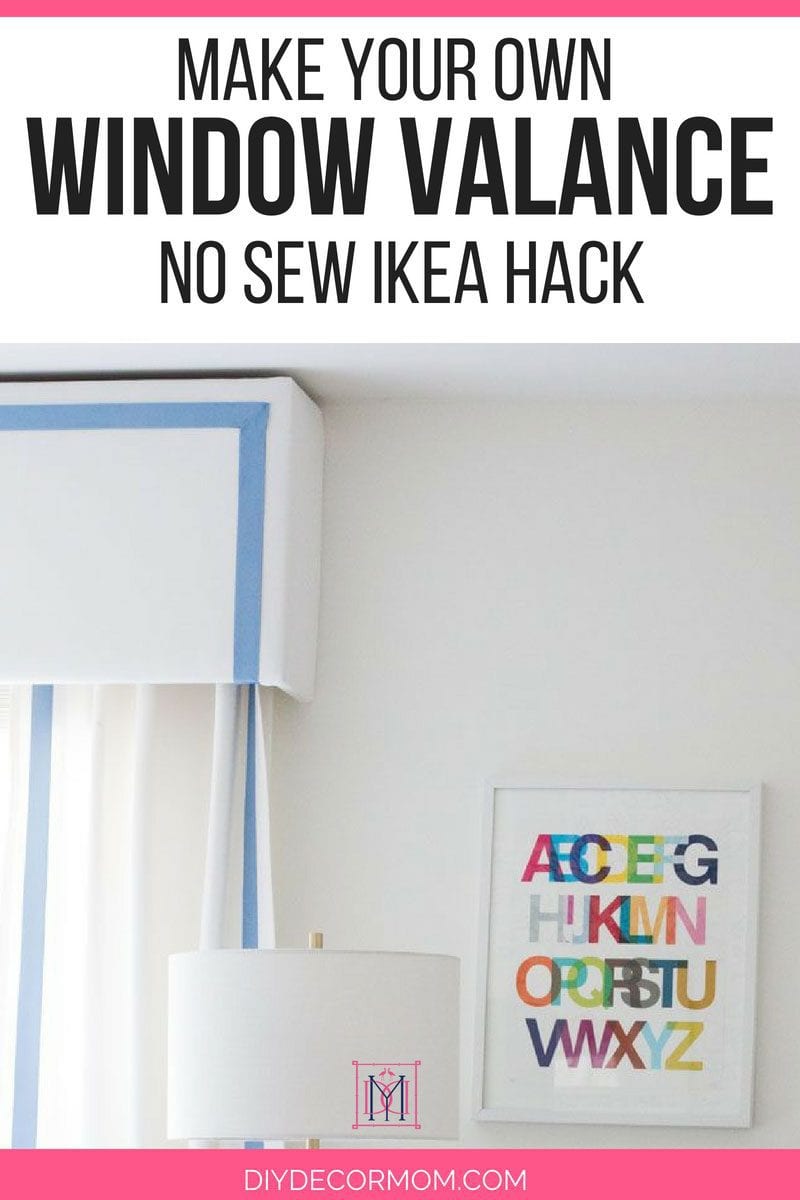
How To Make A Window Valance
Window Valance Box: How to Make a Cornice Box That Looks Professional and Lasts for Years. Looking to make a Window Valance Box for your curtains? Iii years after making our Cornice Box, our nursery curtains are withal looking amazing–even subsequently several changes! Meet how we fabricated the Box Valance in this step-by-stride tutorial.
WINDOW VALANCE BOX
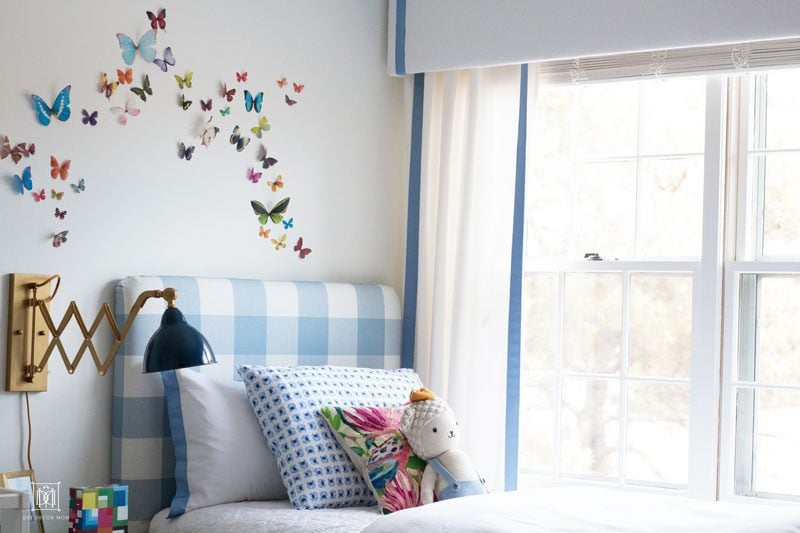
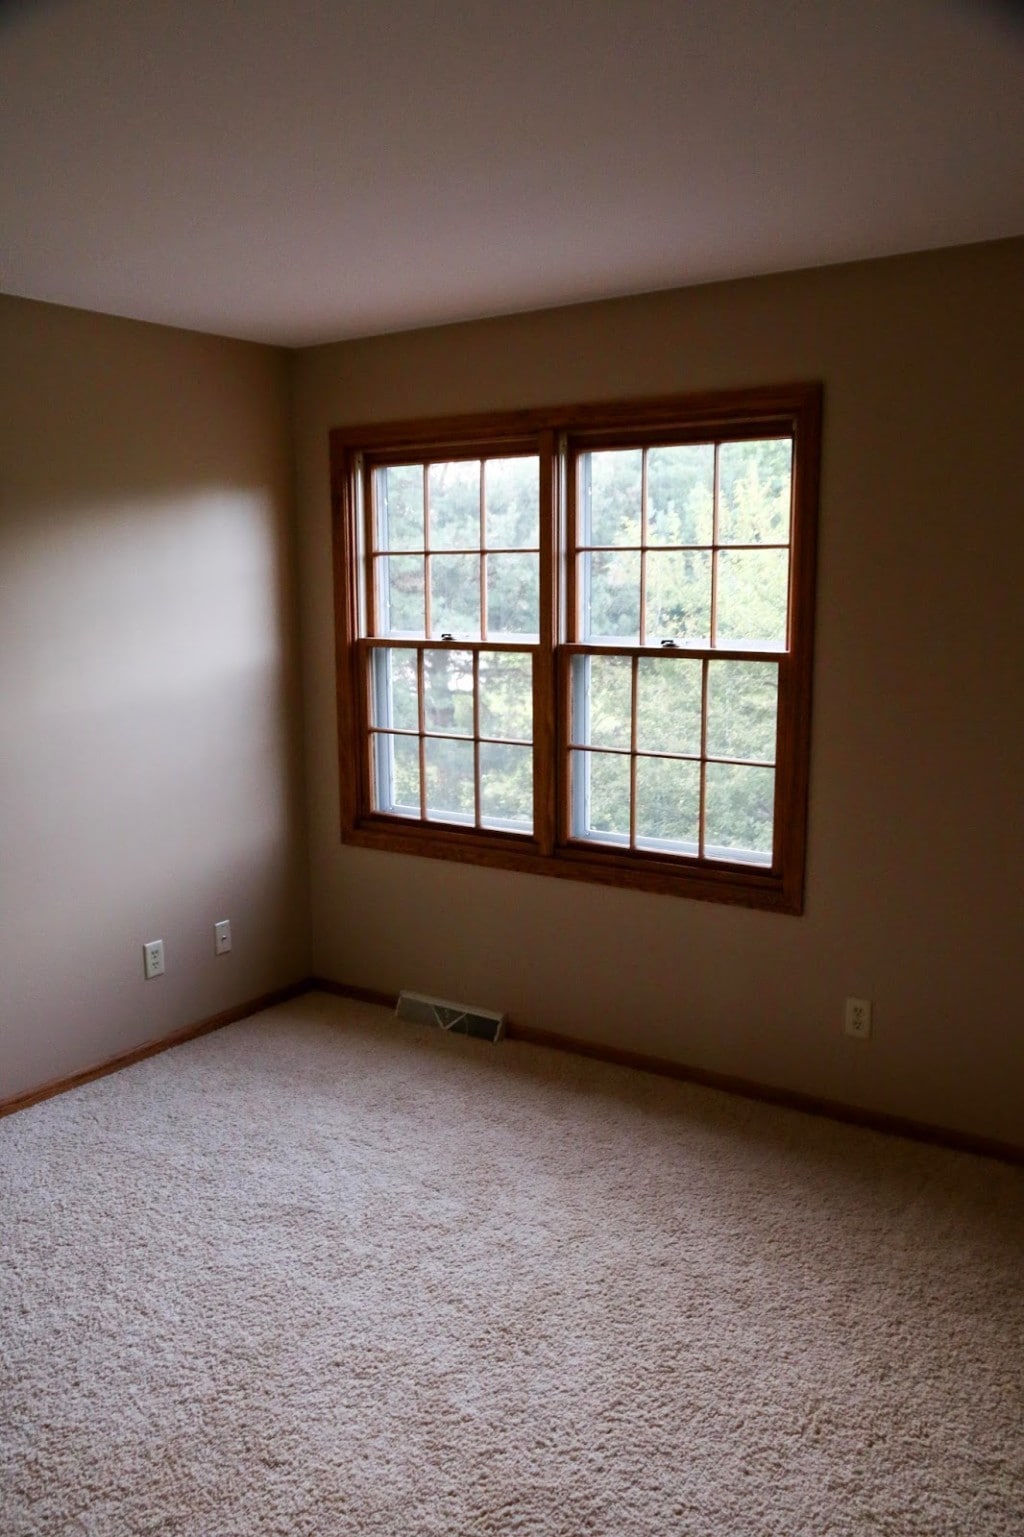
For our nursery curtains, I knew I wanted to create a more elegant look, and with off-middle windows, I knew that the best way to disguise it was making a large window valance box that would extend upwards to the ceiling and could play tricks the middle into thinking the windows were bigger and more proportional. By using cheap Ikea curtains to wrap the window valance box, and and so become backside the valance box, we were able to make the defunction look much more luxe than they were in reality (inexpensive Ikea ones for $xxx!) Which but shows you once again, you don't have to spend an arm and a leg on curtains! (Encounter all my budget-friendly DIY Defunction hither!)
We accept also recently updated this tutorial with another take on it–a scalloped cornice board (encounter it hither!)
*This post has been updated since it was originally published as the defunction have inverse since then but the instructions are the same–I have only updated the photography and the grosgrain ribbon! And oh my gosh, my original photography (insert emoji with hands over my face!)
HOW TO Brand A VALANCE BOX
MATERIALS:
- two packs of Ikea defunction or other inexpensive defunction (meet how to save money on defunction here). Two panels will be for the defunction, and i panel volition exist for the box valance.
- Grosgrain ribbon- I used 1.5″ grosgrain ribbon from here
- MDF board
- Staple Gun
- Nail gun
- Hot glue gun
- Stitch Witchery tape
- Curtain Rod- I use Ikea curtain rods with the Bettylig System
- Iron
- Batting 4 oz. weight
REMEMBER THIS Postal service BY PINNING Information technology!
MAKING A CORNICE BOX
DIRECTIONS:
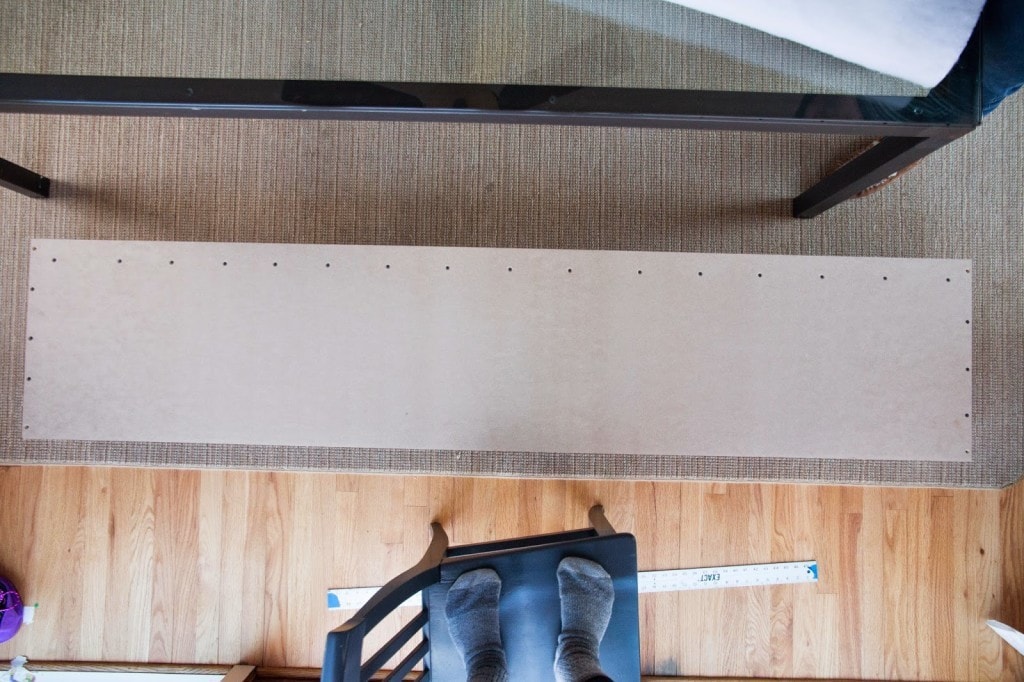
i.) Assemble the MDF Box. Nosotros wanted a lite but stiff box that would maintain its shape. While some people chose to make their's out of poster board, I wanted i that would last years, so we went with MDF which is cheaper than plywood. Y'all tin can see in the flick beneath how my husband assembled information technology (a three-sided box.) He glued the sides together with hot glue so used a smash gun to drive the nails through.
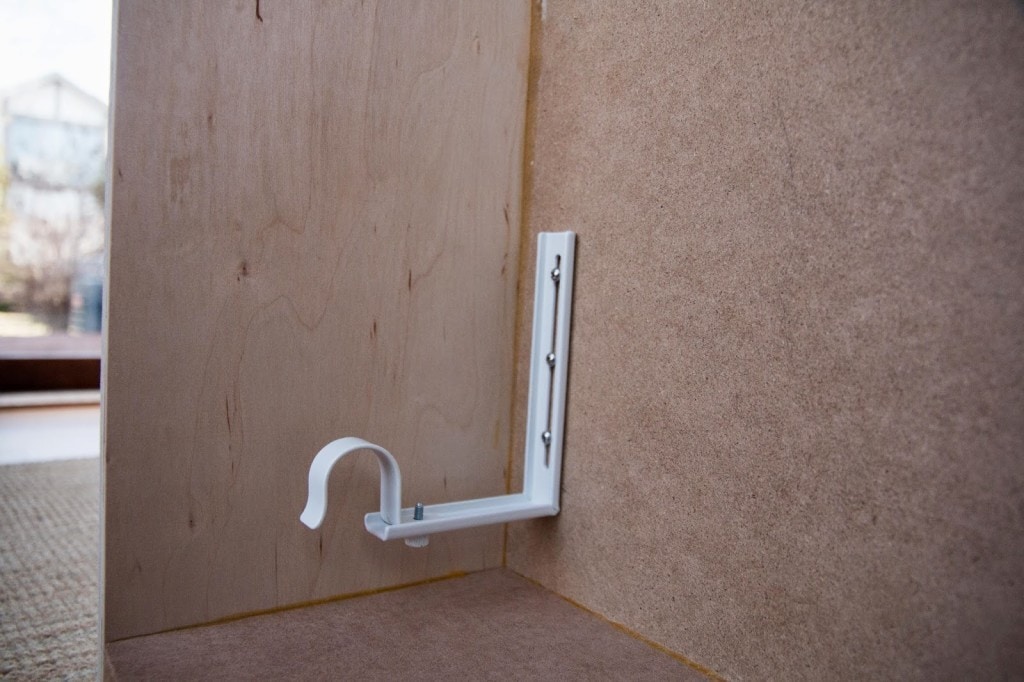
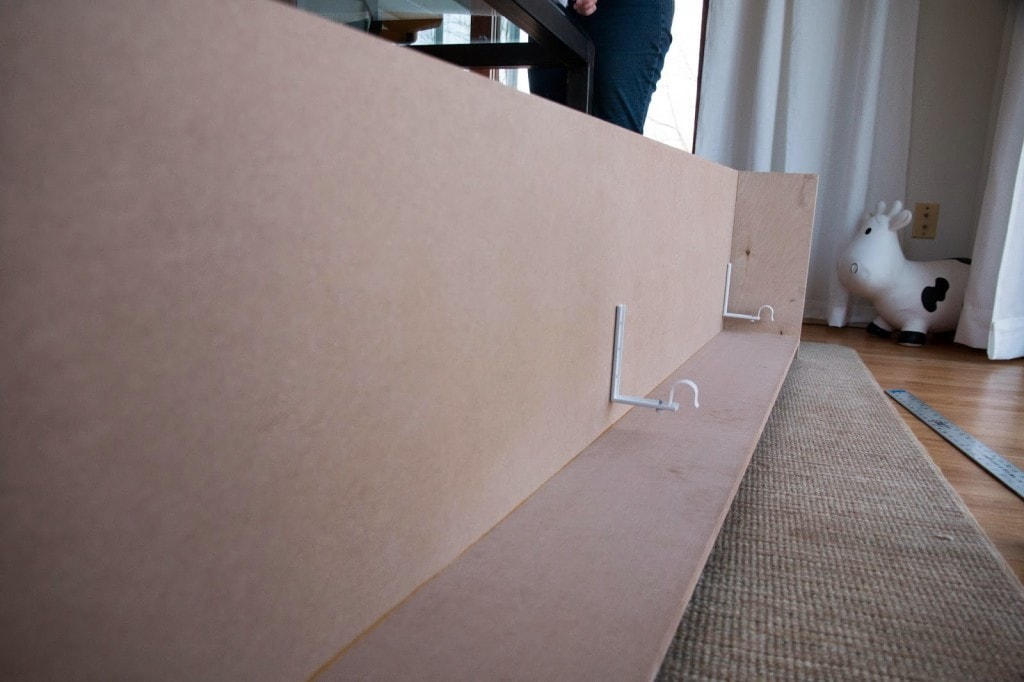
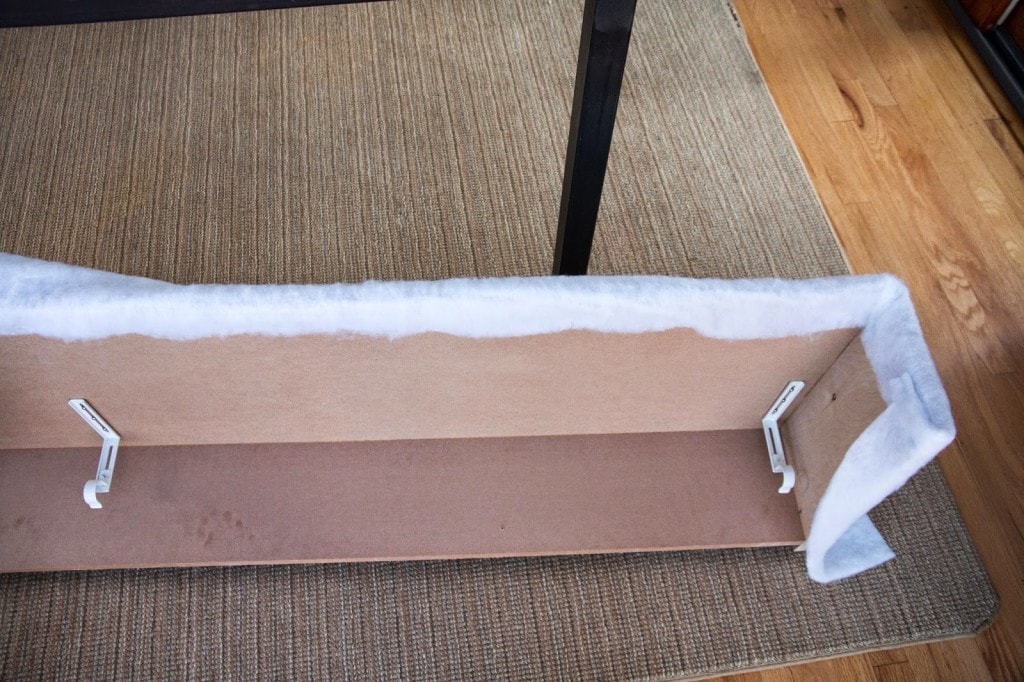
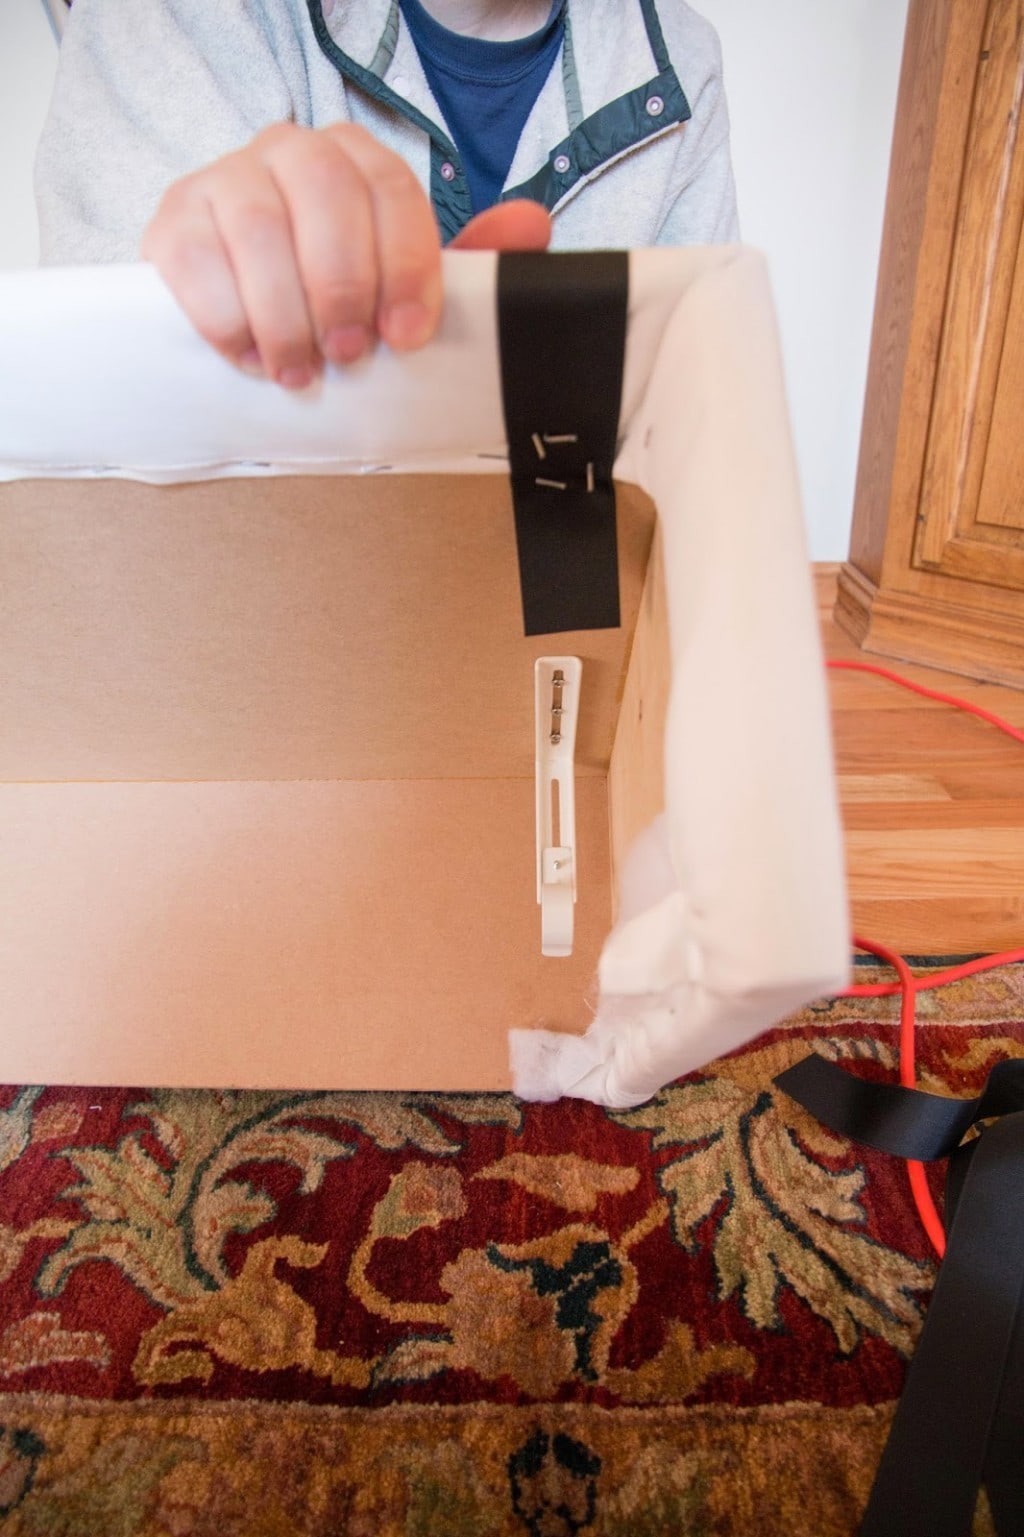
two.) Mount the pall rod brackets. Nosotros used three Ikea Bettylig drapery rod brackets so the curtain rod would be well supported, mounting them on the front of the box.
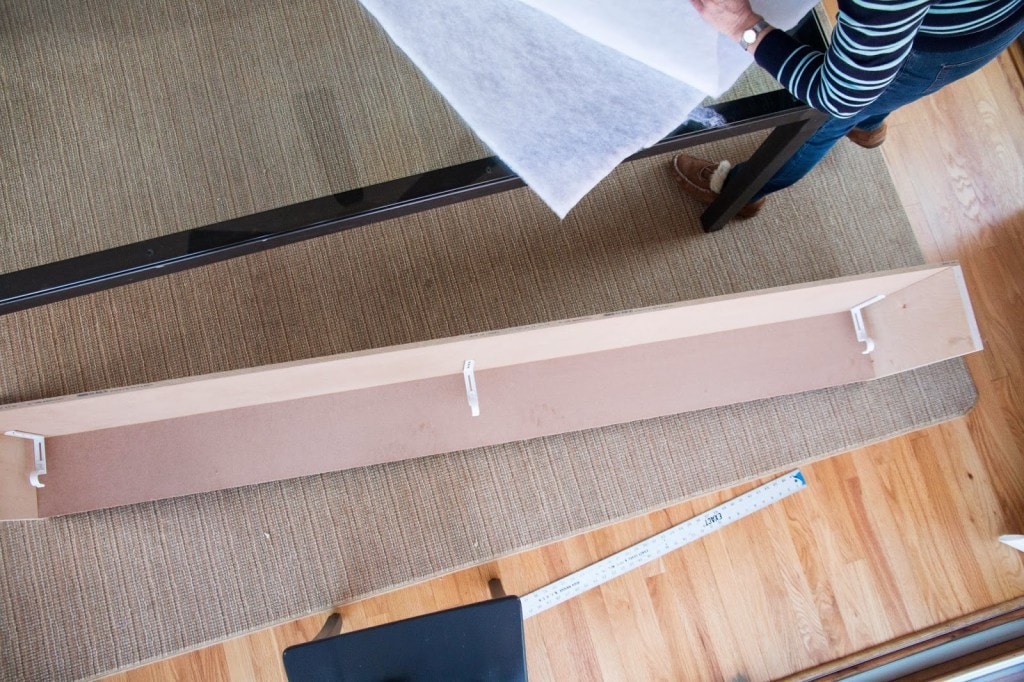
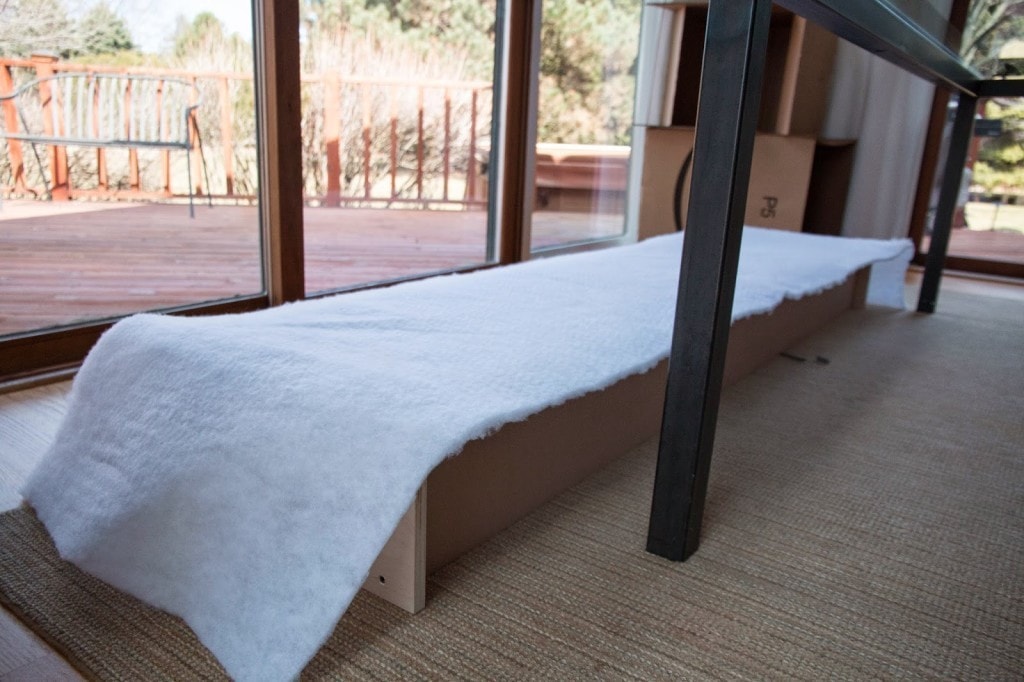
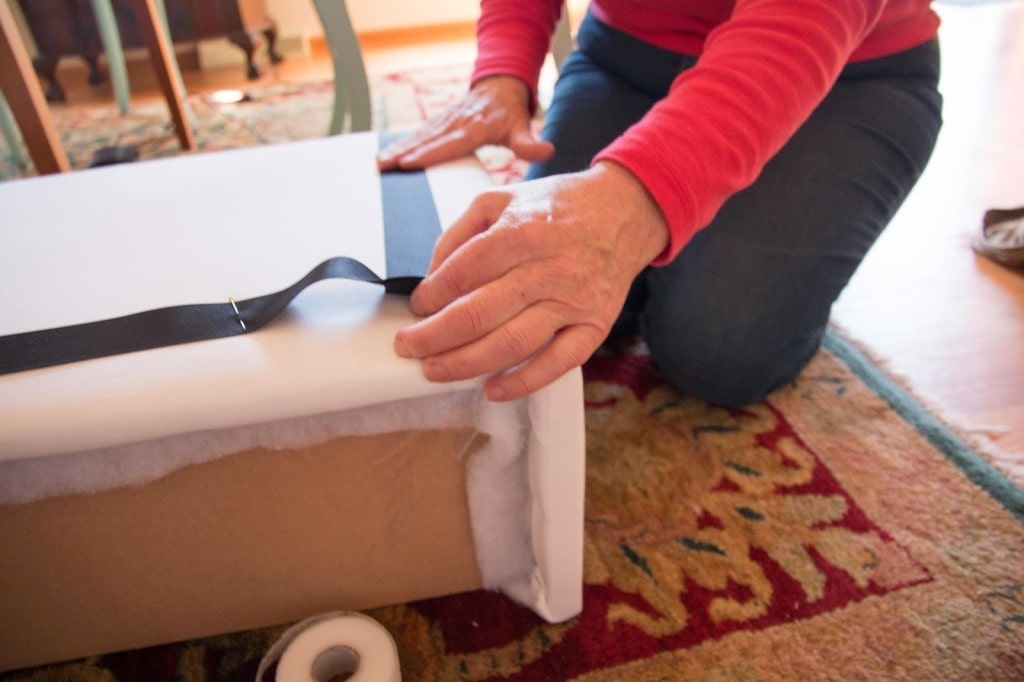
3.) Then cover the valance box with batting to make the corners and the edges softer. We used 4 oz. batting from Michael's that I had on hand. Cut enough and then you accept enough to cover all 3 sides plus an overhang of at least one to two inches on each side, and so you have enough to staple to the inside of the box and wrap it. Use a staple gun to adhere the batting to the valance box.
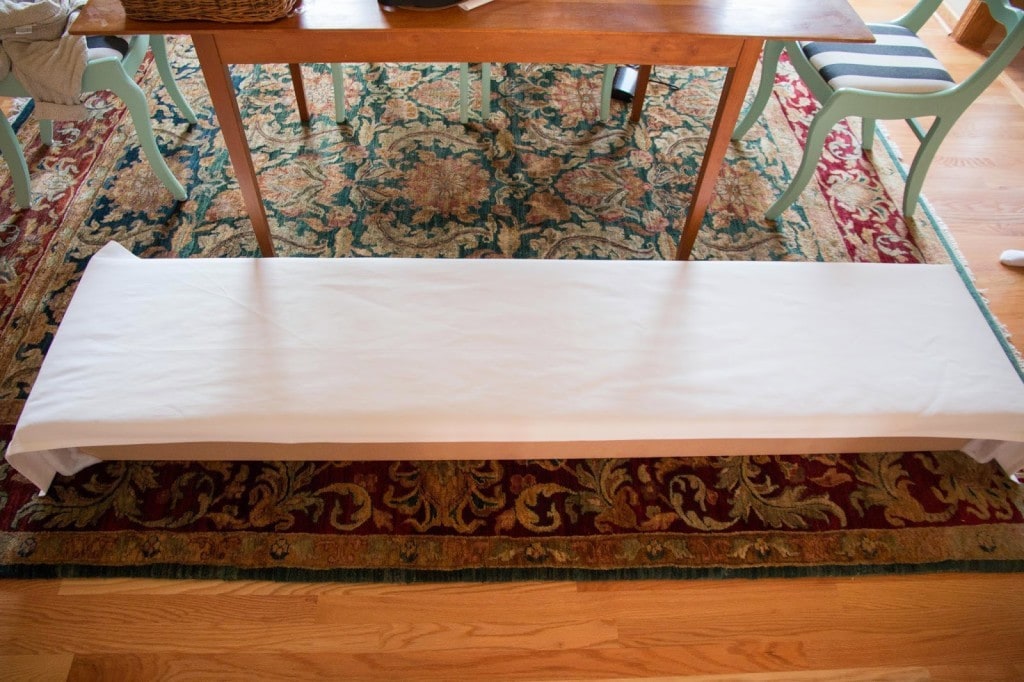
4.) Next, lay out the pre-cut curtain console. I used a third Ikea Merete panel (from the 2nd pack of Ikea curtain panels.) Adverse, cut plenty so that yous have an overhang on each side to staple the fabric to the board and wrap each of the edges (top, bottom, and both sides).
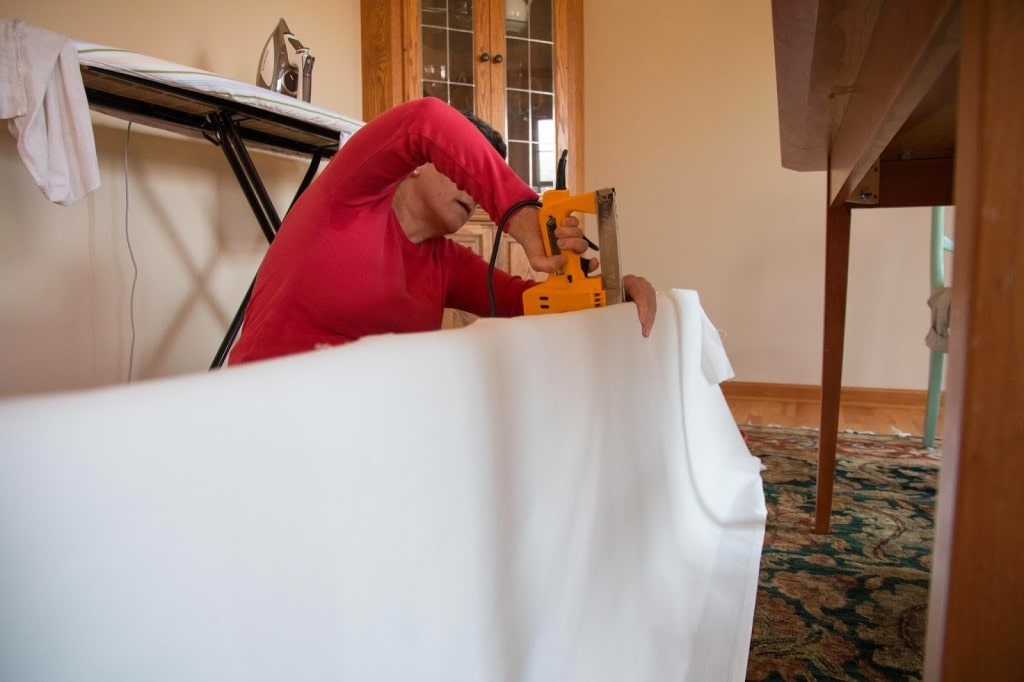
five.) Iron the curtains before stapling them to the cornice box. Then, information technology is time to staple the fabric to the valance box. You lot can see here a picture of my mother-in-law who always helps me with all my upholstery and sewing projects. When we originally did this I was 9 months pregnant with my second kid Jack, and yikes that dining room looked then different than how it looks at present! (Playroom Makeover see here).
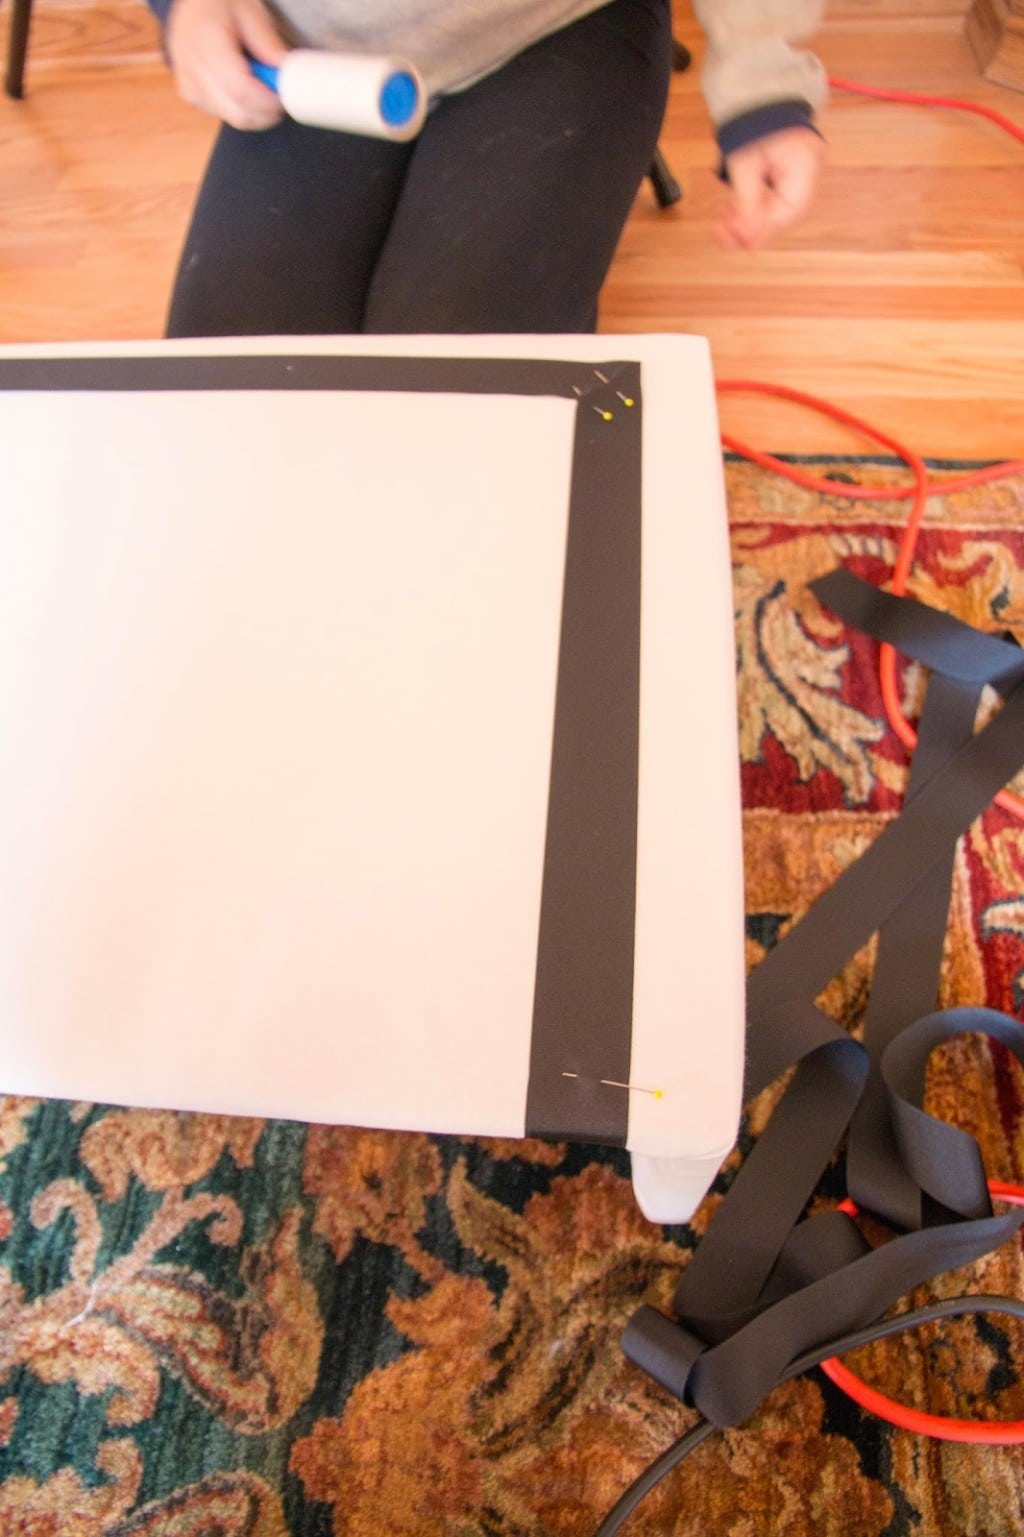
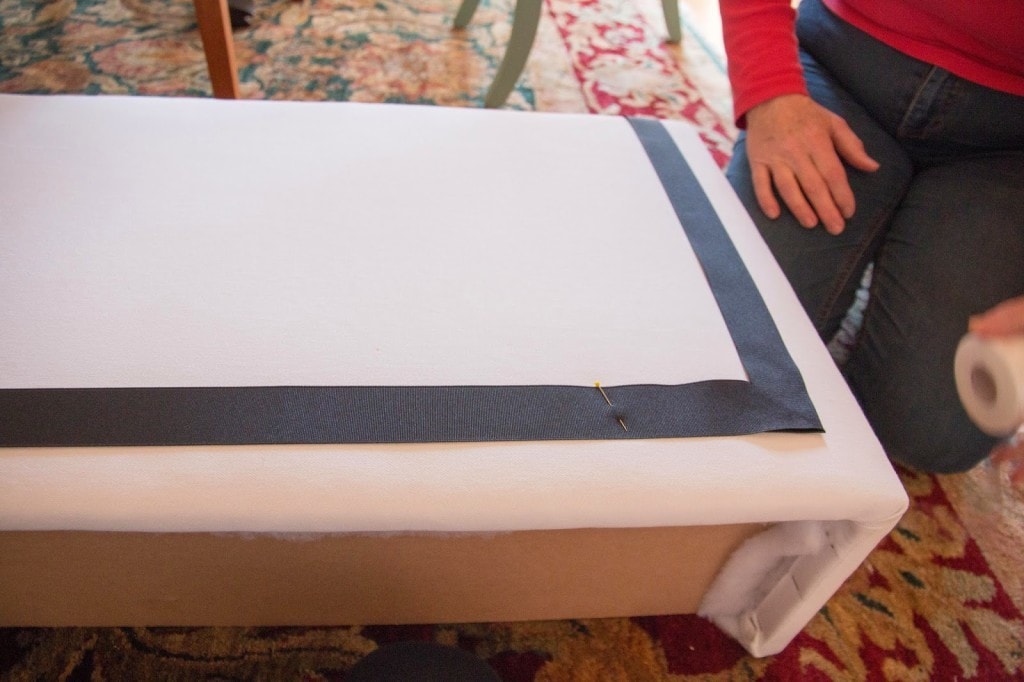
6.) Now information technology is time to put the grosgrain ribbon in place. Use a ruler to measure the exact position of the ribbon. I used the ribbon to create an equal space effectually the boarder (the edge from the ribbon to the border is the exact width of the ribbon itself.) Use pins to secure the positions, and staple the ii vertical sections so y'all accept a solid working point.Then we applied the Stitch Witchery to one side's vertical ribbon, and fabricated our way around, ironing it on.


7.) Finally, it'due south time to mount and hang the defunction and the cornice box.
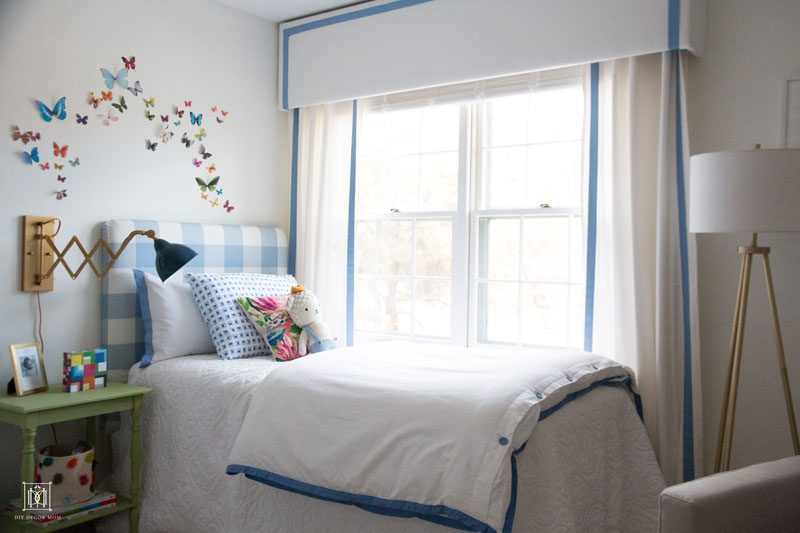
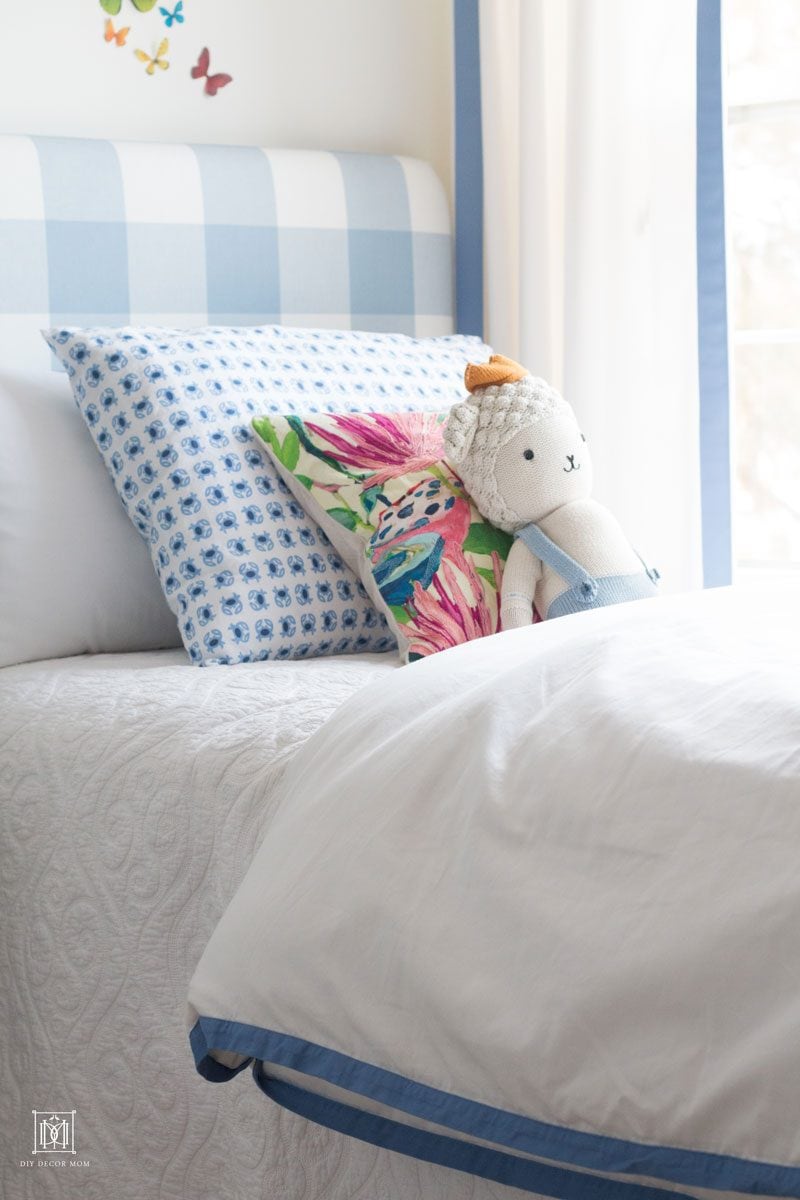
Since the originally making the cornice box and curtains, nosotros accept added two children to the nursery and changed the blackness grosgrain ribbon to french blue ribbon. Baby Boy Room Decor and Nursery
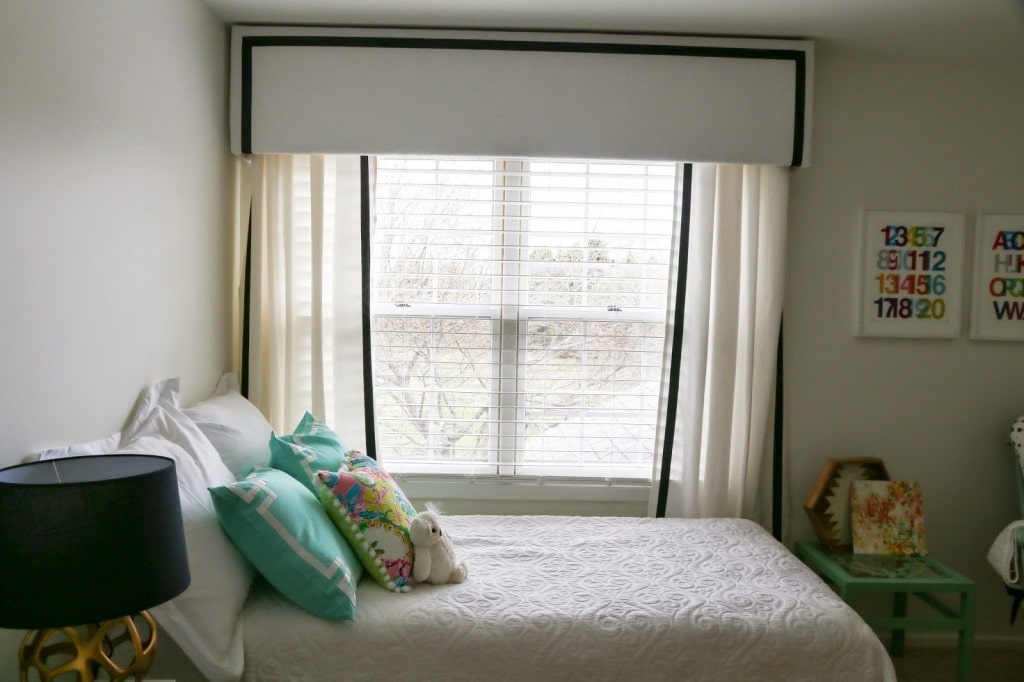
HOW TO Brand YOUR WINDOW Await LARGER WITH A BOX VALANCE
Call up to hang your cornice box as high to the ceiling as you can. Doing so volition make the window expect larger. In addition, extend the width of the valance box approximately x″ on either side of the window. To even out our asymmetrical windows, I extended the window box valance 6″ on the left, and x″ on the right and pull the defunction across the windows so information technology looks like it is evenly spaced.
TAKE THE Brusk-Cut TO DECORATING YOUR Habitation
Frustrated with stuff not looking "right" in your home? I've been in that location, and so many of my readers have also.
After years of answering questions and DMs about essential home measurements, I fabricated a gratis cheat sheet that y'all tin download. In it, I share the essential measurements like how high to hang your defunction, how long your defunction should be, how big a chandelier should be, what light bulbs to use in what room, and everything you lot need to have a beautifully decorated abode! Gathering all these measurements have taken me years. But I've finally gotten it down to a science. Stop guessing with your measurements, and consult the cheat sheet!

DOWNLOAD THE CHEAT SHEET
SHOP THE ROOM Here:
DON'T MISS THESE POSTS:
How to Make Your Own Curtains and Save Money
DIY Defunction–see all the DIY Curtains nosotros've made in our house on the cheap!


How To Make A Window Valance,
Source: https://www.diydecormom.com/window-valance-box/
Posted by: myersreplach.blogspot.com
0 Response to "How To Make A Window Valance"
Post a Comment